1. ABGC Records Usage
This page aims to assist in using the ABGC records website.
2. Growers
The Growers section is the landing page for all growers who sign in via the website (and not the app).
It can be also navigated to by using the header at the top of the page.

2.2. Farm Setup
The ’Setup a farm‘ page can be accessed after creating a business, as well as from the farm list via the business list.
This page is similar to the Setup a business page, requiring simple data entry.
2.3. Farm Block Management
The Farm Block Management page is a mapping tool that allows creating and editing of a farm block. You will be directed to this page whenever you need
to create or edit a block.
2.3.1. Farm Block Management - Plotting a new block
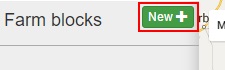
To begin creating a new block you must first click on the [New +] button beside "Farm blocks" in the left pane to ensure the map knows it's
about to start plotting a new block.
You should now notice that your cursor changes to a cross hair while hovering the map.
This now means you can start mapping the farms blocks by using the map and panning to the particular farm location. Once you have found the block
you wish to create you can then start creating an outline/polygon by right clicking on the map to create the points. Each point will be represented by a marker
which can be dragged around so you can adjust its position.
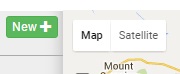
Depending on your preference, Google provides a Satellite view which you may use to assist in creating the block.
You should also notice that after 3 points a coloured polygon will appear; this is used to show the area that you are including for the block.
3. App (Mobile/Web)
This section is dedicated for using the mobile application.
3.1. App setup
In order for a user to use the app they must have at least one business that is APPROVED and has at least one farm and block associated.
Instructions for this is outlined above in the Growers section.
3.3. Syncing
Currently we are still working on the manual sync button, but if you have added or edited a record you will see the following
notice at the main menu of the app; clicking this notice will start the sync process.

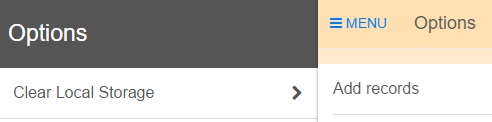
However, if you are having sync issues please inform us, and if you are absolutely certain plus some that all your data is already on the server
you may click the menu button at the top left of the main menu which will show a side bar with a "Clear Local Storage" button.
Clicking this will wipe everything related to the app on the device, regardless of the user! (so be careful).
If the sync problem persists please let us know that you tried this method as well.
4. Reporting
This section is to guide you though how to find, generate and export system reports.
4.1. Report list
From the Growers section click the [Reports] button in order to view reports that are available to you.

4.2. Freshcare
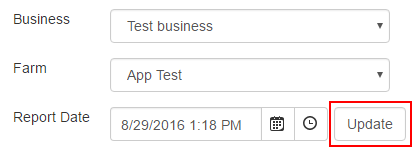
The Freshcare report page is available to you as a button via the Reports section. This page will allow you to select
the particular business, farm & date to generate a report for a 12 month period.
Once you have entered the relevant information you can click the [Update] button and view the results in the grid.
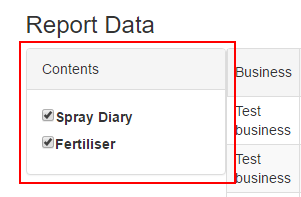
Additionally you can alter what kind of information is shown in the report by using the checkboxes in the 'Contents' panel to the left of the grid.
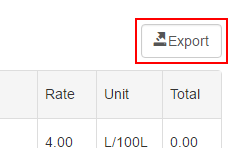
Exporting the freshcare report
If you require to export your Freshcare report you can use the [Export] button to the right of the page in order to get the data viewable in an Excel spreadsheet.
 Back to top